

PS3
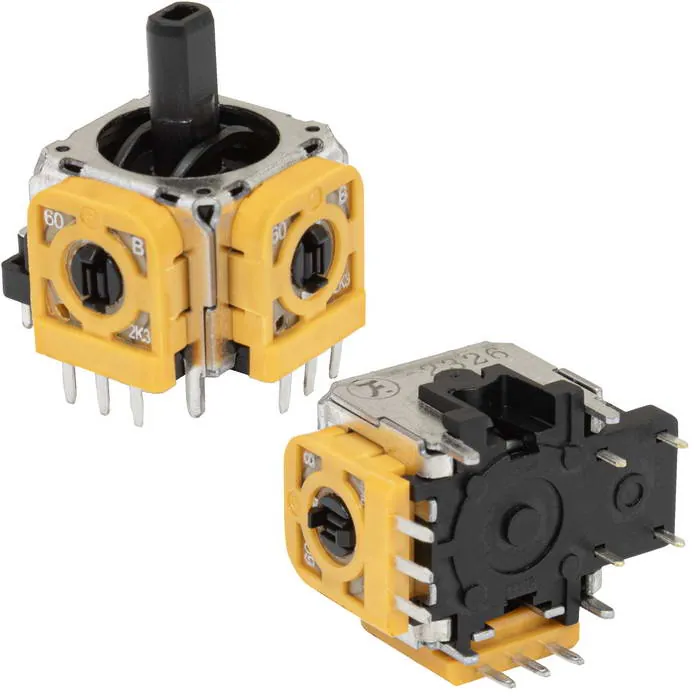
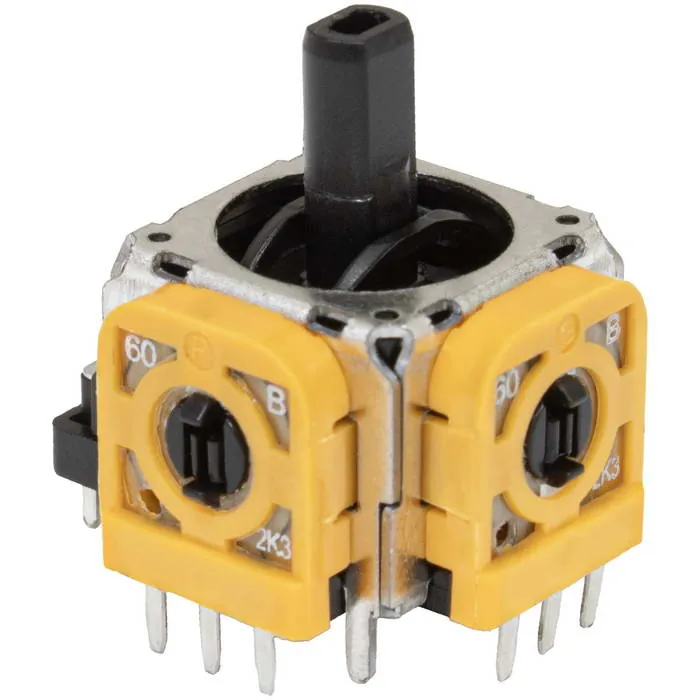
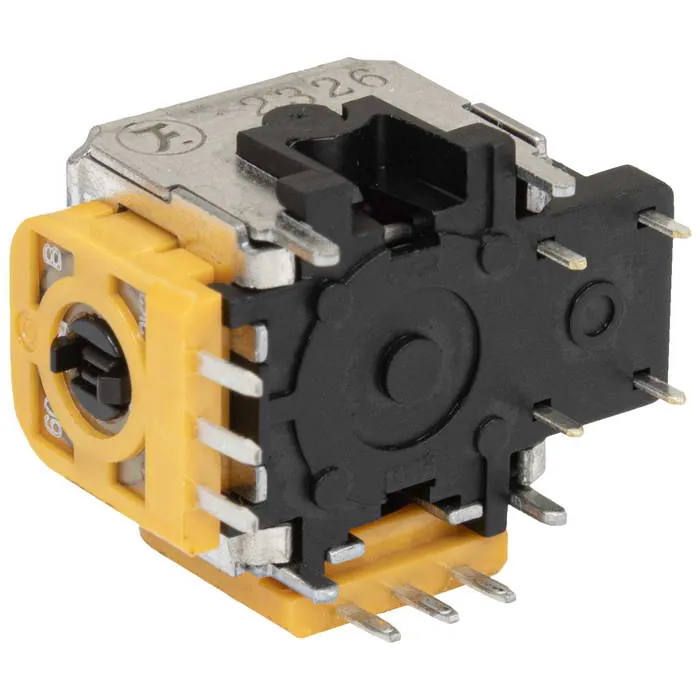
Analog Joystick PS3 for 3D sticks
| Item code | 121625 |
|---|---|
| Model | PS3 |
Description
The analog PS3 joystick for 3D sticks is made of high-quality materials, which ensures a long service life. Replacing the mechanisms will make using the main device more comfortable.
1. To replace the joystick, you will need a Phillips screwdriver; unscrew the 4 screws on the back of the gamepad housing.
2. Starting from the left side of the device:
press the housing flaps to create an opening. Carefully insert a handy tool, such as a flathead screwdriver, into the opening that appears and gently run it upward toward the stick; press on the tool to open the plastic housing wider. Repeat the same steps on the right side.
3. Carefully insert two screwdrivers into the gaps created and press on them near the buttons on the housing: SHARE and OPTIONS. Separate the plastic parts of the housing to the sides, but do it carefully: they are still connected by the ribbon cables on the boards. We recommend performing disassembly on a flat surface so that any parts that fall out are not lost.
4. Unscrew the single bolt under the battery holder with a screwdriver. Be careful not to strip the thread.
5. Carefully disconnect the touchpad ribbon cable from the motherboard. Use special tweezers. The ribbon cable is connected to the motherboard by a special connector that can be tightened or loosened. During reassembly, to connect it back, the plastic flap must be removed from the board and the lock on the connector loosened.
6. Carefully disconnect the motherboard from the front part of the housing. The vibration motors are attached to the motherboard. Support both edges to make it easier to separate the motherboard.
7. Insert a screwdriver between the potentiometer (resistor) and the metal housing, and move it aside.
8.1. Without a soldering iron. Remove the contact pad and pinch the tabs together - it is released. Replace it with a new one.
8.2. With a soldering iron. Desolder the mechanism completely and install a new one.
Reassemble the gamepad in reverse order
Documents and media
Product inquiry
Technical questions, analog selection, samples and documentation. Reply will be sent to the email specified in the form.
PS3
Item code 121625 · Joysticks